Templates
Working with templates significantly facilitates your work. It makes it easier to standardize your projects and work faster, thus saving time. In Geometra, there are four types of templates.
What are templates?
<div class="version-tag">v5.0</div>
Using templates allows you to work more efficiently by saving information that you can later reuse. It makes it easier to standardize your projects and work faster, thus saving time. In Geometra, there are four types of templates. They are all interconnected to establish conditions for standardizing your work to varying degrees. Use the combination of templates that best suits you.
The templates refer to:
• Structures
• Control folders
• Objects
• Rows
The templates occur in a hierarchical order that goes from the bottom (Rows) up to the top (Structures). It's important to remember the hierarchy when setting up your templates.
Structure Templates
<div class="version-tag">v5.0</div>
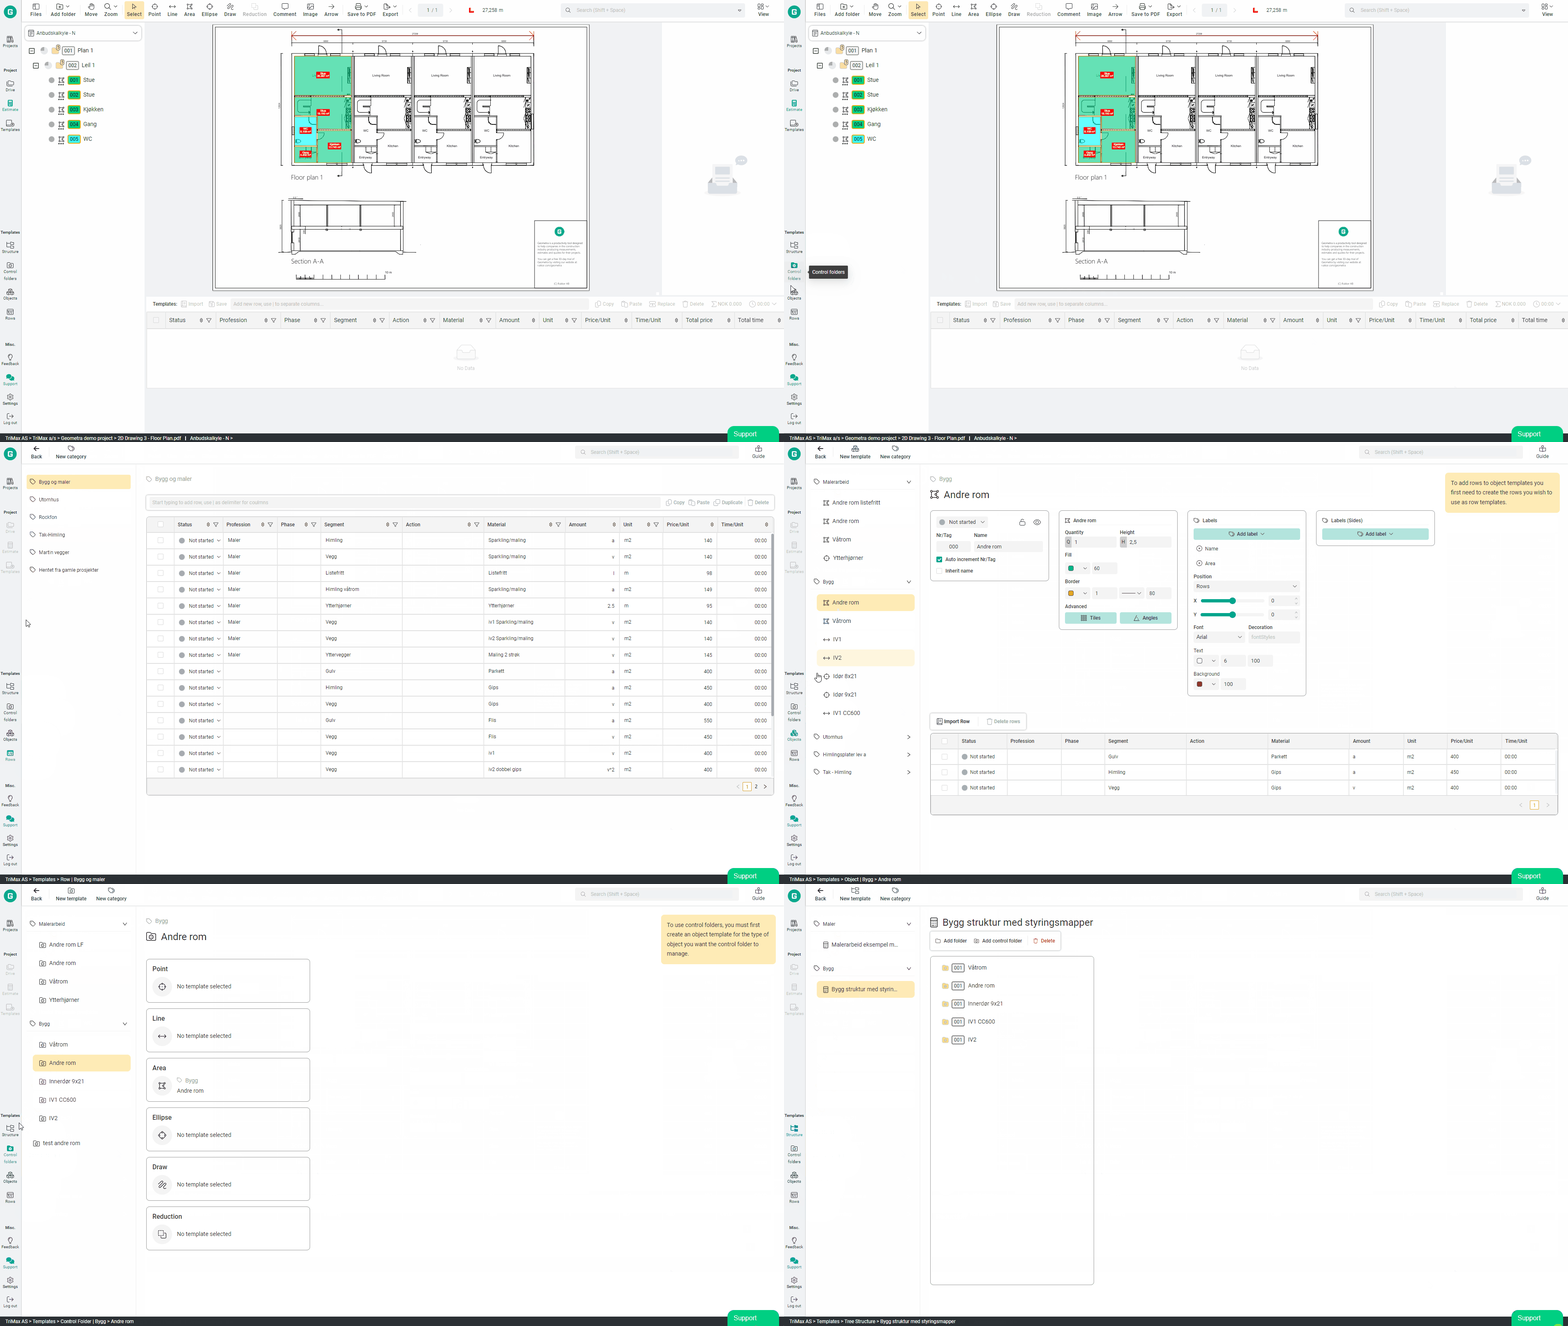
Structure templates help you organize your folders. You use these to create a layout of folders and Control folders for your projects so that you can quickly and consistently organize your objects and quantities in a predetermined order.
You can insert a structure template into the entire Estimation at once or insert it into a folder you have created manually. For example, if you are building your project based on building structures in parent folders, it is common for each building structure to be the same. In this case, you insert the same structure template into the four different building structures in the Estimation. In the template, predefined building components are recurring between all building structures: exterior walls, interior walls, staircases, etc.Structures can be categorized to help you track what they refer to.
There are two types: one for Drive and one for Estimate.
Control Folders
<div class="version-tag">v5.0</div>
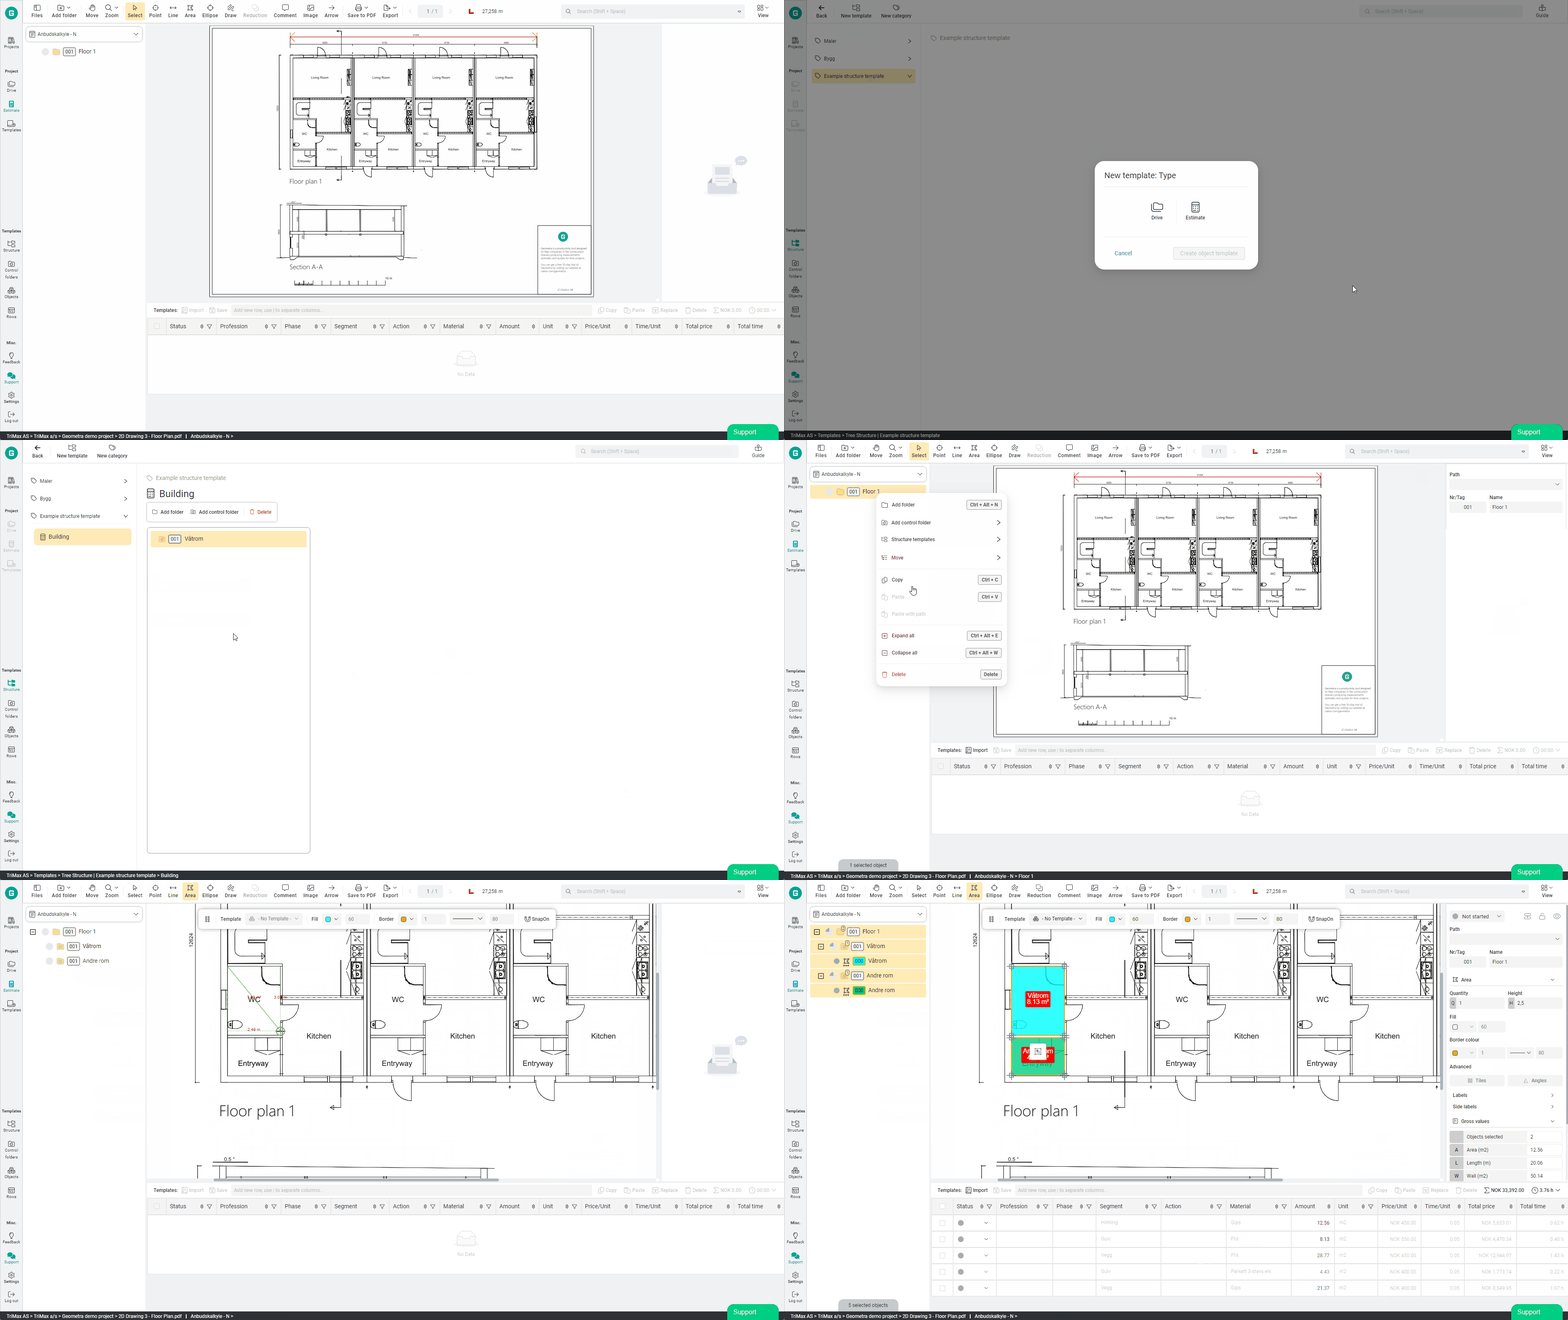
Adding a control folder means that you can force all objects placed in the control folder to always adhere to a predefined object template. This means that your control folder, for example named "3-strip Oak Parquet," is linked to always convert all Area objects placed in it to a specific object template, such as the object template for Area "3-strip Oak Parquet." This happens regardless of their previous content or properties.
A control folder makes it impossible to edit the objects contained within it, which helps prevent unintended changes. You can still set the status of the object or rows and change the quantity formula on the rows of a controlled object. Control folders can be categorized to easily keep track of their purpose.
Object Templates
<div class="version-tag">v5.0</div>
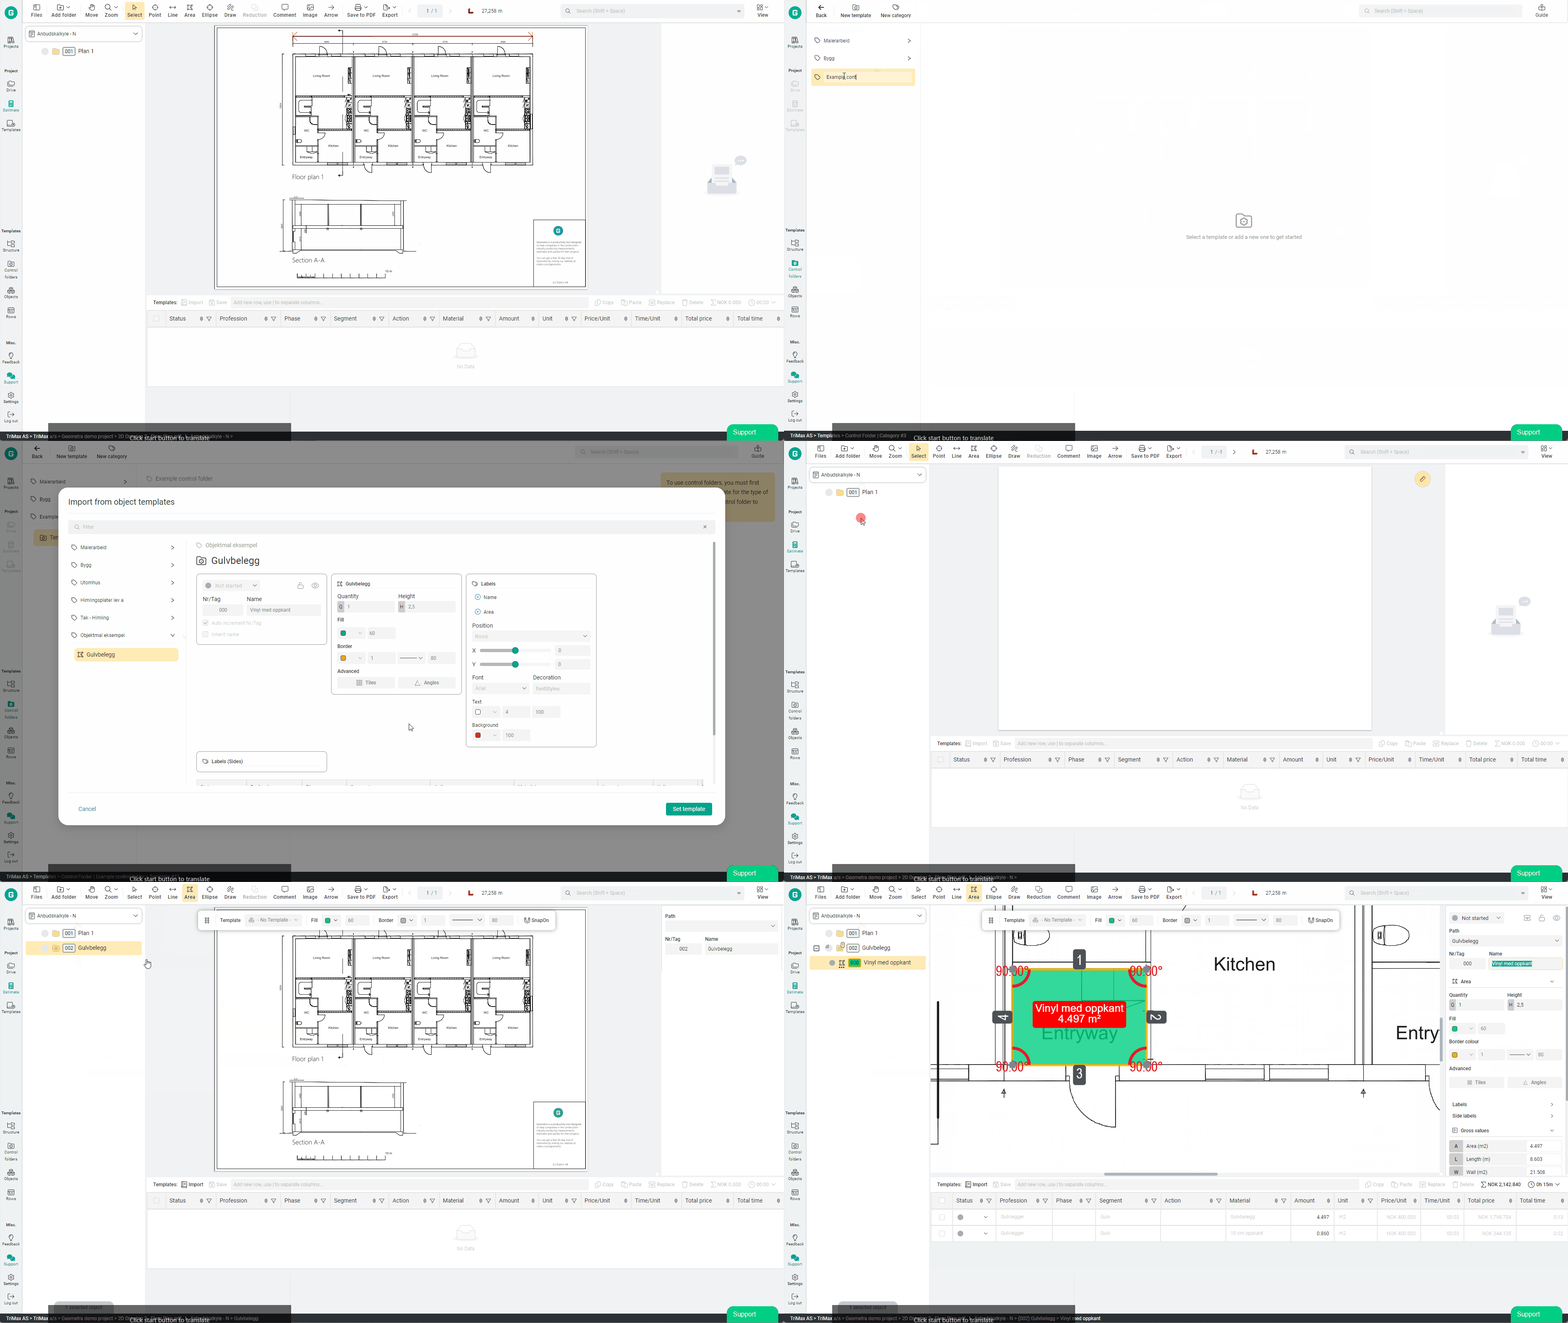
Creating templates for objects can be compared to building your own toolbox for what you want to mark out, ensuring that they automatically acquire certain properties and rows upon placement. You can create and categorize your object templates to easily find and manage them. For example, you can quickly create categories based on profession, task, or material to find and use them in the program.
The template for the object contains all the properties that you typically set when marking out an object on a drawing or document. Of course, you can also choose to add rows from your row templates and link them to apply to multiple different object templates.
You can create the object template from scratch or save an object you have already made in a project as a template. You can also choose to replace already created objects with a template. In that case, all the data for that object is replaced with data from the template.
Row Templates
<div class="version-tag">v5.0</div>
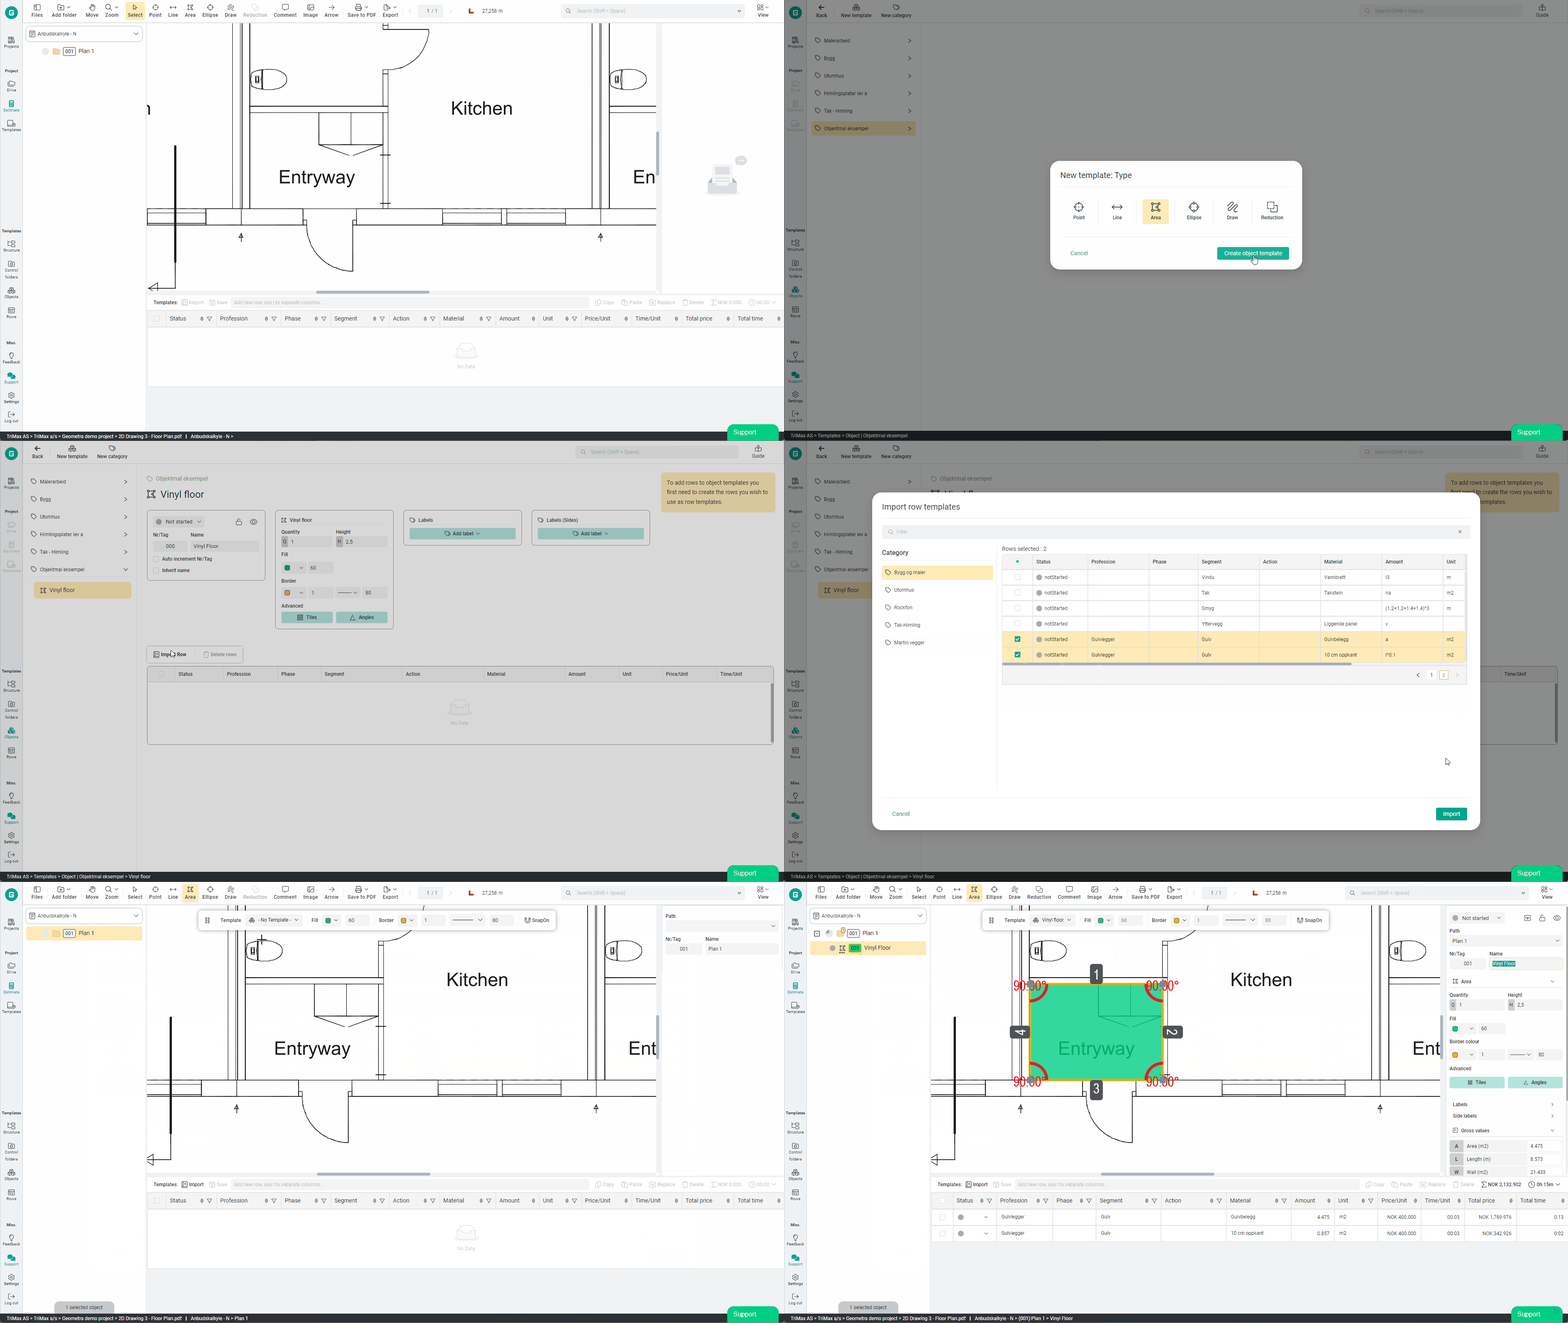
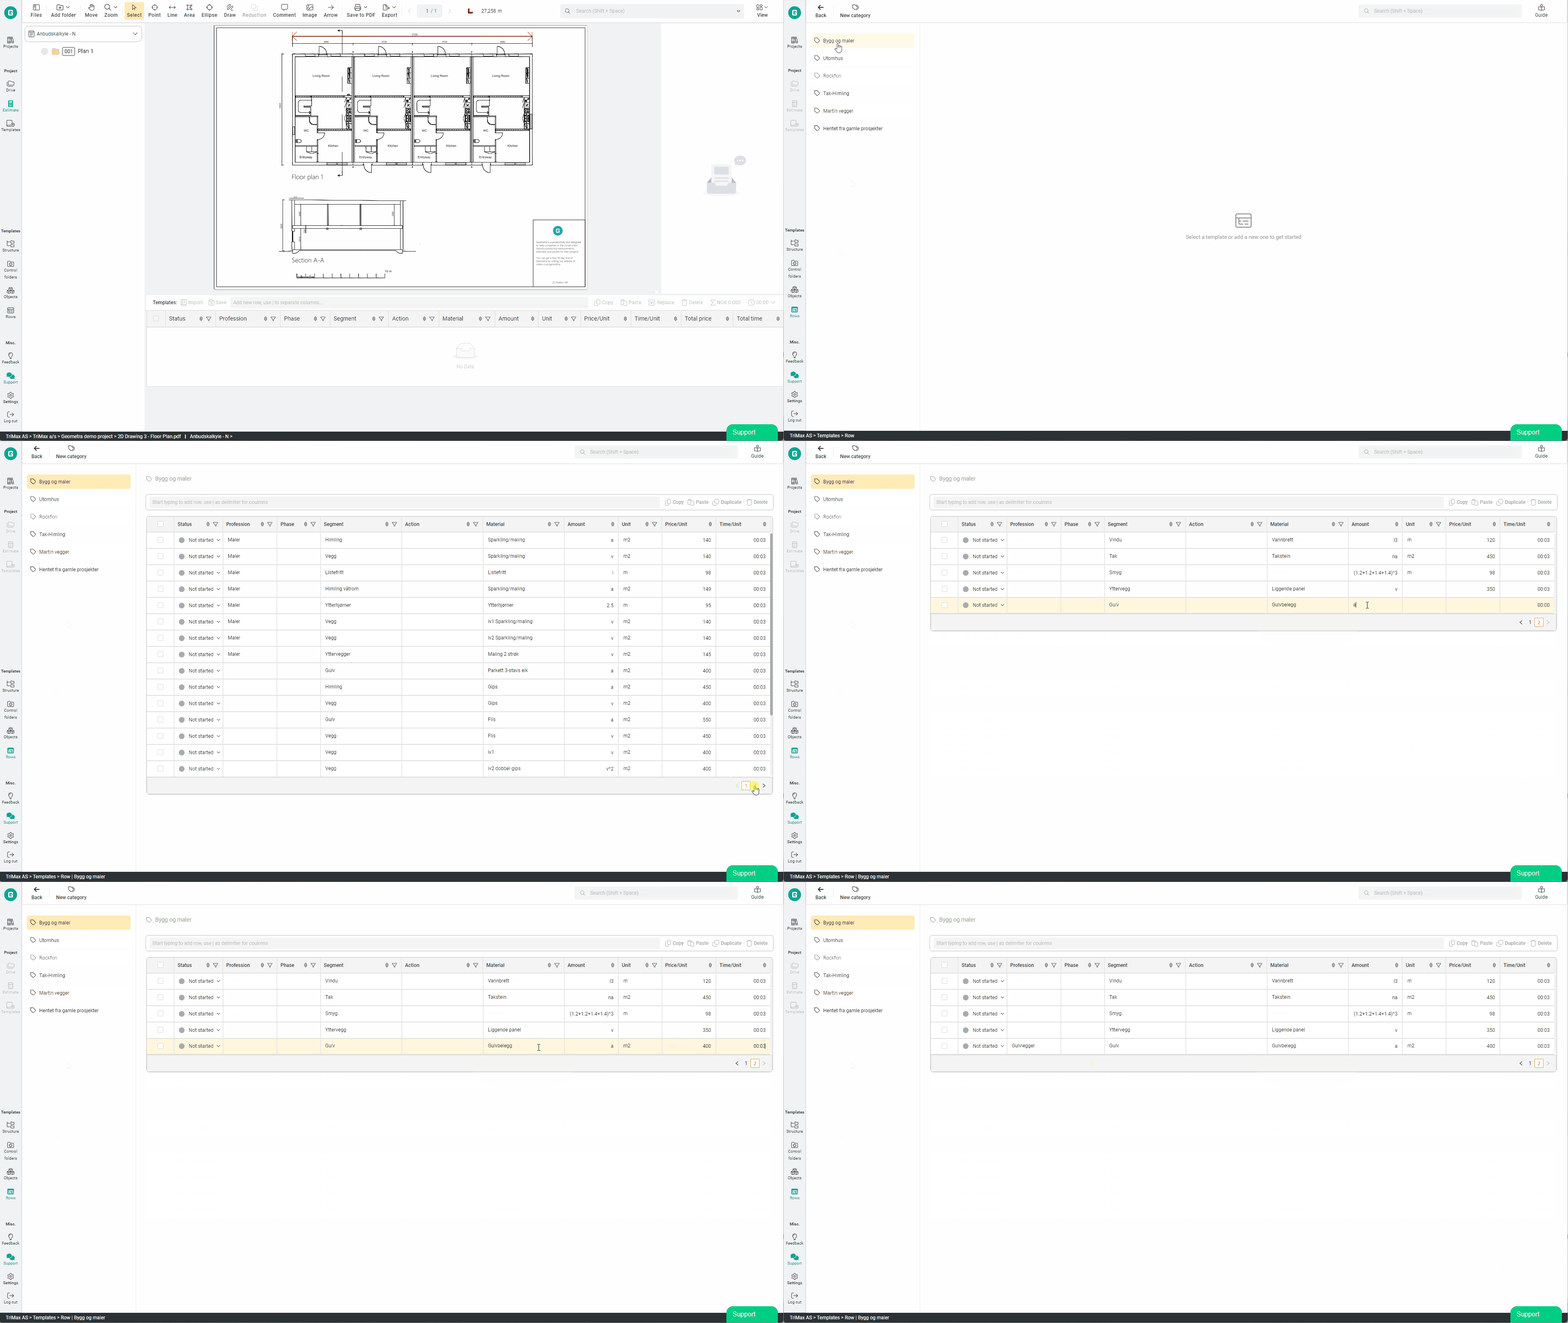
When creating your rows and want to use them as templates, they are always created within a category. Therefore, clearly define the category so that you can easily track what these types of rows are intended for. For example, you can categorize them based on the type of work (laying parquet flooring, assembling interior walls, etc.) or the artisan who will perform the work (flooring installer, painter, carpenter).
You can use the rows as you wish on created objects or linked to apply to object templates. The duplicate rows can be linked to several different object templates.
You must create templates for rows to be able to add them to object templates.
Similar to object templates, you can save already created rows as templates and reuse them.
Creating Templates
<div class="version-tag">v5.0</div>
For Structures, Control Folders, and Objects, you can create both categories and new templates via the two buttons in the toolbar; New Category and New Template.
You can also save Structures, Objects, and Rows as templates from the estimate view. When you do this, you will be prompted to choose a category to save them in.
Structures can also be saved from Drive in the same way as in the Estimate view.
.png)
For your Organization and Outside
<div class="version-tag">v5.0.12</div>
The templates created are available to everyone working in your organization, regardless of department. This allows for standardization even across departments and teams. Be mindful when making changes to the template so that you do not modify or remove anything used by someone else.
You can share templates with other users outside your organisation via our "Control Codes." These codes allow you to take a snapshot of a template and send it to someone else, who can recreate the template and all its associated data by pasting the code into the template import function.

.svg)
.svg)